Drop your PC temperatures and reduce fan noise in about 5 minutes by removing dust buildup from your cooling path.
This is for desktop and laptop users noticing heat, loud fans, or random slowdowns during games or heavy work.
Time required: 5–15 minutes.
Quick Answer
Power down, unplug, hold the power button for 10 seconds, then blow out dust from vents, fans, and heatsinks with short bursts of compressed air while holding fan blades still. Reboot and compare temps before vs. after—you’ll usually see cooler operation and less throttling.
Why this single trick works
Dust acts like a blanket on heatsinks and fan blades. That blocks airflow, raises component temperatures, and can trigger thermal throttling (automatic speed reduction to protect hardware). Cleaning that dust restores airflow and helps your CPU/GPU sustain better performance.
Prerequisites
- Your PC or laptop
- A can of compressed air (or electric air duster)
- A microfiber cloth (optional)
- 5–15 minutes
Optional monitoring tools to verify results:
- HWiNFO (Windows): https://www.hwinfo.com/
- Windows Task Manager performance view: https://support.microsoft.com/windows/task-manager-df253333-7f21-4e42-b7a3-0b95f86f3fa1
Step-by-step: clean dust safely for instant cooling gains
- Record baseline temps (optional but recommended). Open your monitoring view, run your usual workload for 2–3 minutes, and note CPU/GPU temps.
Expected check: You have at least one “before” temp number saved. - Shut down fully and disconnect power. Turn off the machine, unplug power, then hold the power button for ~10 seconds to discharge remaining power.
Expected check: No LEDs, no fan spin, no standby indicators. - Open airflow access points. For a desktop: remove the side panel. For a laptop: focus on external vents unless your model has a user-serviceable dust panel.
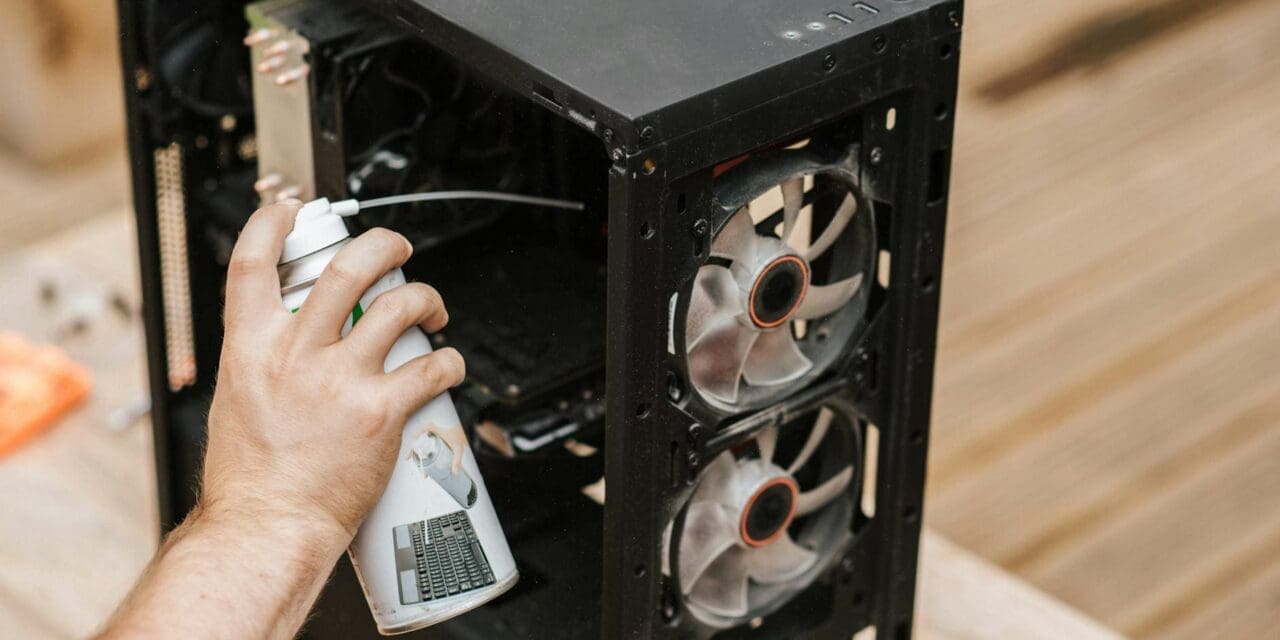
Expected check: You can clearly see intake/exhaust dust areas. - Clean fans and heatsinks with short air bursts. Use short, controlled bursts. Hold each fan blade in place with a finger or non-metal stick so it doesn’t overspin.
Expected check: Visible dust exits fins/vents, and fan blades look cleaner. - Target high-impact zones. Desktop: CPU cooler, GPU cooler, front intake filters, rear/top exhaust, PSU intake area. Laptop: side/back vents and intake grilles.
Expected check: Grilles and heatsink fins look less gray/clogged. - Wipe residue, reassemble, and retest. Let dust settle for a minute, wipe easy-access surfaces, close everything, power on, and run the same test as step 1.
Expected check: Lower temps, quieter fan behavior, fewer sudden slowdowns.
Expected result checks
- Idle and load temps are lower than before (often noticeable immediately)
- Fan noise decreases during normal tasks
- Less thermal throttling during games, rendering, or multitasking
- System feels steadier under sustained load
Common mistakes
- Letting fans spin freely while blasting air (can stress bearings)
- Using long continuous blasts too close to components
- Cleaning while plugged in or right after shutdown without discharge
- Ignoring dust filters/vents and only cleaning visible center areas
- Expecting miracles from dust cleaning alone if thermal paste/fans are failing
Troubleshooting
- No temp improvement at all: Recheck hidden intake filters and GPU/CPU heatsink fins; confirm airflow direction and fan operation.
- Fans still loud after cleaning: Verify fan curves, ambient room temperature, and background load.
- System still throttles under load: You may need deeper maintenance (cooler reseat, thermal paste replacement, or failing fan check).
- Laptop still hot: Use a hard surface (not fabric), elevate rear airflow, and clean vents again with shorter bursts.
References
- How-To Geek: https://www.howtogeek.com/youre-ignoring-the-ultimate-pc-upgrade-and-it-costs-literally-nothing/
- How-To Geek desktop cleaning walkthrough: https://www.howtogeek.com/72716/how-to-thoroughly-clean-your-dirty-desktop-computer/
Related reads
- Speed Boost: Enable Efficiency Mode on Resource-Hogging Apps in Windows 11 Task Manager
- Check SSD Health 2026: Free Tools for Windows, Mac, and Linux (5-Min Guide)
- 5-Minute Fix: Flush DNS Cache on Windows to Restore Website Loading
Next step
Do this quick dust clean today, then set a recurring reminder every 2–3 months—small maintenance beats emergency overheating fixes every time.


